Showing posts with label coconut. Show all posts
Thursday, 23 February 2017
Vegan Basbousa
Last year was a very quiet year on Gormandize. I don't know how so many women seem to accomplish so much while raising tiny babies, but I salute them. I couldn't even begin to get my head around doing all the stuff I used to do before my baby came along. Caring for a tiny human, trying to keep my house moderately clean and working 2 half days a week already seems like an overwhelming amount to do. A lot of my personal interests have been put on hold.
Next week, my beautiful cheeky daughter turns one. I'm hoping this year to start exploring some of the things that used to occupy my time before her and this blog is one of them. Over the past few years I've put up about 380 free vegan recipes for you all to enjoy. That is a phenomenal database of delicious food. It has taken up a lot of time and resources! I won't be able to dedicate nearly as much time, effort and money to producing recipes for you all as I used to, but this blog will live on.
I've got a new project that I'm working on for Gormandize and I'm also going to be bringing you some new recipes this year. I hope you enjoy what I've got in store.
I'm starting you off with a firm favourite. I love this dish. I must have made it countless times. I hope you enjoy it as much as I do :)
Wishing you a prosperous Year of the Rooster!
Basbousa (Egyptian Semolina & Coconut Cake)
Ingredients
1/2 cup nuttelex (or other vegan margarine)
3/4 cup raw sugar
75g dessicated coconut (unsweetened)
1 cup semolina
1 tsp baking powder
1/2 cup plain wholemeal flour
3/4 cup almond milk
1 tsp vanilla extract
Whole blanched almonds, to decorate
Syrup:
2/3 cup caster sugar
2/3 cup water
2 tbsp lemon juice
To Make:
1. Start with the syrup, so it has time to cool. Place the sugar, water and lemon juice in a saucepan over a medium heat and stir until all the sugar is dissolved. Bring to the boil and then reduce the heat and let it simmer for 6-8 minutes, until it thickens. Remove from the heat and allow to cool. Once cool, chill in the refrigerator while you make the cake.
2. Preheat the oven to 180 degrees C.
3. Melt the nuttelex in a saucepan and then add all the remaining ingredients except the blanched almonds, stir well to combine.
4. Grease a square baking dish well and pour the batter into it, spreading it out evenly.
5. Bake in the oven for 30-35 minutes, until the top is golden. Remove from the oven and score lines diagonally across the surface. Pour the chilled syrup over the hot cake and then decorate each piece with a blanched almond in the centre. Allow to cool slightly and then serve either warm or chilled.
You can check out my the other delicious Egyptian & Egypt-inspired recipes here.
Wednesday, 11 March 2015
Coconut Mango Float (Vegan)
The start of Autumn in Sydney means take advantage of the last few mangoes around before they disappear until next summer. One of the many things I miss about summer as I'm trudging through the winter months is the beautiful summer stone fruits, so it's nice to make the most of them while I still can.
Mango float is a dessert popular in the Philippines and several of it's neighbours - including parts o Australia. It's a nice simple dessert, easy to make and usually not vegan. My version has a few changes. I've used whipped coconut cream (a vegan's best friend) but I've also included grated fresh coconut because Filipino versions use young coconuts, it adds a lovely texture to the whipped cream and enhances the beautiful coconut flavour. Most recipes use whole biscuits for the biscuit layers, but I've just used crumbs because I found it a bit easier. If you like, you can layer whole biscuits and just use crumbs to fill in any gaps.
Mango float is often made like a slice, in a long dish and then cut into slices. I've made mine in jars because they look so lovely plus they're very easy to store. You could also make them in individual parfait glasses or dessert bowls, or even in one big glass bowl like a trifle. If you're making it like a slice, you'll want to start with a bottom layer of whole biscuits to make the base, but if it's in jars or parfait glasses then I prefer to start with a layer of mango because I think it's nice getting to the bottom and finding fruit!
If you like a boozy dessert, try marinating the mango in 1-2 tbsp. rum.
Coconut Mango Float
Ingredients
2 x 400ml cans coconut cream (refrigerated for at least 24 hours)
1/4 cup soft icing sugar
1 tsp vanilla extract
2 cups grated fresh coconut flesh
3 large mangoes
200g digestive biscuits (or other plain biscuits) (you'll need more if you want to make it slice-style, as you'll need a bottom layer)
To Make:
1. Remove the cans from the fridge (the longer you refrigerate them the better), open them up and scoop out all the solidified cream. Discard any watery liquid in the bottom of the can.
2. In a bowl, whip the coconut cream solids with electric beaters until light and fluffy. Move the beaters up and down while you beat to aerate the cream as much as possible. Once it's smooth and whipped, add the icing sugar and vanilla extract and beat in well.
3. Chop the mango flesh into cubes or slices. At this stage you can add a tbsp. of spiced rum or another liqueur if you want to.
4. Turn the biscuits into crumbs either in a food processor or just crumble with your hands.
5. Start with a layer of mango and then top it with coconut cream and a fairly generous layer of biscuit crumbs. Follow this with another layer of mango and another of coconut cream. Garnish with more biscuit crumbs.
6. Set in the fridge for a couple of hours (or overnight).
Serves about 8.
If you want to make it as a slice, use a long rectangular dish. Start with a layer of whole biscuits and fill in any gaps with crumbs. Then layer mango and then coconut cream. Repeat with another layer of biscuits, followed mango and coconut cream.
This
month I'm featuring lots of delicious food the Philippines.
Check
out my other Filipino recipe posts:
Friday, 13 February 2015
Gizzada - Jamaican Coconut & Brown Sugar Tarts
Even after so many years cooking it is so lovely to keep learning new tricks and techniques. I was really impressed with the traditional Jamaican method of making these lovely stand alone tart shells, they save you needing to have lots of mini tart pans around the house - plus you don't have to wash up all the pans! They make such a lovely little star shaped tart and are so beautiful filled with this traditional Jamaican filling of coconut and brown sugar.
Gizzada - Jamaican Coconut and Brown Sugar Tarts
Ingredients
Pastry:
2 cups flour (I prefer wholemeal), + extra for rolling
1/2 tsp salt
2 tbsp margarine (or vegan butter)
2 cups iced water
Filling:
1 coconut, flesh grated (makes between 3 and 4 cups fresh grated coconut)
1 cup dark brown sugar
1 cup water
1 tsp nutmeg
1/2 tsp allspice
1 tbsp margarine (or vegan butter)
To Make
1. Combine flour and salt in a bowl or food processor. Cut margarine into small pieces into the flour. Rub with fingers until the mixture resembles breadcrumbs (or, if using a food processor, simply pulse a few times until mixture resembles the same).
2. Add ice water a little at a time while you mix (or process) until there is enough liquid for the dough to start to form into a ball. Once the dough is wet enough to stick together in a ball but not so sticky that it sticks to your fingers when you touch it, it is enough liquid. Once you've reached this stage form your dough into a nice smooth ball and wrap in plastic wrap. Refrigerate for at least an hour.
3. While the pastry is in the fridge, make the filling. First, grate the coconut either using a special coconut grater or by cracking open the coconut into as many pieces as you can and then gently prising the pieces away from the skin (the flesh will have one brown edge, don't worry - that's fine). Once you have it in pieces you can grate it on a standard box or plane grater.
4. Combine the sugar and water in a pan and place over a medium heat. Bring to a simmer and let simmer until it starts to thicken slightly (between 5 and 10 minutes). Once it has thickened a bit add the grated coconut, nutmeg and allspice. Simmer for about 15-20 minutes and then add the margarine. Continue to cook until the mixture has no more liquid and the margarine is dissolved and then remove from the heat and allow to cool.
6. Preheat the oven to 180 degrees. Remove the pasty from the fridge and cut in half. Roll out half of the pastry until it is about 1/4 inch thick (don't make it too thin or the tarts wont be able to stand up by themselves). Cut circles using a 5-6 inch diameter cutter or bowl. Pinch each circle as in the pictures below to form the star shaped tart shells. Make sure you pinch firmly so the dough sticks together well and doesn't simply come apart.
8. Fill each casing with plenty of the cooled coconut filling. The shells can hold quite a lot, so you shouldn't have any trouble using up all your filling. Return to the tray and bake for another 15 minutes, or until the pastry is just golden and the filling is slightly crispy on top. Remove and cool before eating.
Makes about a baker's dozen gizzada (this can vary depending on how big your cutter is).
This
month I'm featuring lots of delicious food from Jamaica.
Check
out my other Jamaican recipe posts:
Thursday, 19 December 2013
Chocolate Coconut Kisses (Beijos De Coco Com Chocolate)
A very simple and easy recipe, beautiful chocolate truffles made with fresh coconut and plump juicy golden raisins. If you can get fresh coconut then it's worth it, but if you can't just use dried and it will still be delicious. Only four ingredients, and even more fun if you have a helper to help you roll them out! They're not as rich and sweet as other truffles, and I dare you to try and stop at just one! They also make lovely gifts (since it's that time of year), just place in a little gift box lined with some tissue paper.
Ingredients
2 1/2 cups freshly grated coconut flesh (about 1 coconut)
1/3 cup golden raisins, chopped
1/2 cup castor sugar
200g dark chocolate, chopped up
To Make:
1. Combine the grated coconut, sugar and raisins in a small saucepan and heat over a low heat until all the sugar is melted.
2. Remove from the heat and add the chopped dark chocolate, stir until the chocolate is completely melted.
3. Set the mixture aside to cool, then refrigerate for 10 minutes to help it firm up.
4. Roll bit of the mixture out into bite sized balls and put into little patty pans (or roll in cocoa).
5. Keep in the fridge until ready to serve.
Makes about 24 kisses.
This
month I'm featuring lots of recipes from Brazil!
Check out my other Brazilian recipe posts:
This post is also part of the December Sweet Adventures Blog Hop. The theme for this month is Heavenly Holiday Truffles, which is right up my alley. I love truffles and I love experimenting with different flavours, here are some of my other truffle recipes - they're all vegan of course:
Wednesday, 4 December 2013
Avocado Cream & Passion Fruit Mousse (Creme de Abacate & Mousse de Maracujá)
How is December treating you all so far? I love December, it's summer, life is busy and fun, and Christmas is just around the corner. Apparently some people hate Christmas, but I don't see the point of hating a reason to get together with family and friends over food and wine! Christmas goes on regardless of whether you love it or hate it, so you might as well love it :)
December is also Brazilian Food Month on the blog, the last World Food Challenge country for the year. I hope you've enjoyed the range of countries I've featured this month, I've had a great time! I've learn't so much and tried lots of things I've never done before. Each year I look back and I feel happy to know that I'm becoming a better & more experienced cook with every new cuisine I delve into, so a big thank you to all the readers who have suggested wonderful countries to feature and also to my friends who are more than happy to turn up every month with a bottle of wine and be my guinea pigs.
Brazil is a bit of a challenge from a vegan point of view, but with a bit of digging around I found plenty to please the palate. It's an espescially fun country for dessert, so you'll see plenty of those. Also, despite the international reputation for serving up predominantly meat on swords, I found some really special savoury dishes to share with you. So, sit back, I think you're going to enjoy this month.
Being December, I'll also be sharing with you some fun Christmas gift ideas. At the moment I'm sharing with all my facebook followers the "12 Days of Edible Xmas Gifts" - 12 ideas for easy edible gifts which are a bit different to the ones you might have thought of before! You can check them out by liking Gormandize on facebook.
I'm starting Brazil month off with this absolutely spectacular dessert. I'm not exaggerating, it really was spectacular. It was so popular at my Brazilian dinner party that I was sad to have no leftovers! I made it by combining 2 Brazilian desserts - Avocado Cream (Creme de Abacate) and Passion Fruit Mousse (Mousse de Maracujá). They're not traditionally combined, to my knowledge, but they complimented each other perfectly to make a light but special dessert. Don't let the idea of an avocado dessert put you off, you will love this!
Avocado Cream & Passion Fruit Mousse
Ingredients
Avocado Cream
Adapted from easybrazilianrecipes.com
3 ripe avocados, skin & stone removed
6 tbsp castor sugar
2 tbsp lemon juice
2 tbsp vegan condensed milk
Passion Fruit Mousse
Adapted from flavorsofbrazil.blogspot.com
1 can coconut cream, left in the fridge for at least 24 hours
3/4 cup vegan condensed milk
5 passion fruits
2 extra passion fruits for garnish
To Make
1. To make the avocado cream: place all the ingredients in a food processor and blend into a smooth cream. Divide amongst 8 individual serving glasses.
2. To make the passion fruit mousse: When you open the can of coconut cream, you'll see that most of the can has solidified into a thick white cream. Scoop this out and place in a bowl & discard the liquid in the can (or save it for use in another meal, like a curry or a smoothie). Whip the coconut cream solids with electrci beaters until light and fluffy, just like whipped cream. Add the condensed milk & the pulp of 5 passion fruits.
3. Divide amongst your 8 serving glasses evenly on top of the avocado cream.
4. Top each glass with fresh passion fruit pulp and chill in the fridge for at least an hour before serving.
Serves 8. Can be made the night before & kept in the fridge.
This
month I'm featuring lots of recipes from Brazil!
Check out my other Brazilian recipe posts:
Friday, 12 July 2013
Toasted Coconut Pancakes with Roasted Strawberry Sauce (Guest Post by Big Fat Baker)
This gorgeous guest post comes from my friend Erin from Big Fat Baker. She's a fun and enthusiastic baker from the USA, and even though not a vegan has kindly cooked up this delicious vegan recipe to keep my blog from looking too bare while I'm away. What lovely people are out there in the blogging world! Like Erin, I'm not much of a breakfast person. But over the last year or so I've been making a solid effort to try and eat breakfast regularly. Part of that has been finding and developing new things to have for breakfast so that I'm not so bored by the normal breakfast foods. These pancakes look so delicious, that I think I will have no difficulty incorporating them into my repertoire! As you read this post, I'll be strolling around in Lund in Sweden - but as soon as I get back I will be making some of these. Thanks Erin.
I normally don’t partake in the daily ritual known as breakfast. But, while on Maui for two weeks I was always up early. Breakfast there is a necessity.
Lucky for me, breakfast is a big part of the food culture. There is anything and everything. From sweet breads and pancakes, to fried rice and noodle soup.
There is a restaurant close to the condo with some of the best pancakes on the island. White chocolate macadamia nut, banana, and pineapple are the choices. Your choice of passion fruit, coconut, or regular syrup - with homemade whipped cream.
Since I've been home, pancakes have been a way to infuse some island flavours into my mornings. These coconut pancakes are a new favourite for me, and they will be for you too!
{Vegan} Toasted Coconut Pancakes with Roasted Strawberry Sauce
Yield: 10 pancakes
Pancake Ingredients:
- 2 cups flour
- 2 tbsp raw sugar
- 1 tbsp baking powder
- 1 tsp salt
- 1/4 cup coconut oil
- 1 2/3 cup coconut milk
- 1/2 tsp vanilla extract
- 1 cup shredded coconut, toasted
Strawberry Sauce Ingredients:
- 2 lbs strawberries, washed & quartered
- 2 tbsp raw sugar
- 2 tsp lemon juice
- 2-3 tbsp corn syrup
- pinch of salt
Directions:
1. Preheat your oven to 300 degrees F (150 degrees C). Spread all the shredded coconut into an even layer on an ungreased cookie sheet. When the oven is preheated, toast for 5-7 minutes then stir. Repeat until the coconut is golden brown and evenly toasted. Set aside.
*Be sure to watch the coconut closely during this process - it can burn very quickly!*
2. Adjust the oven temperature to 350 degrees F (177 degrees C) and spread the strawberries in an even layer on the cookie sheet. Sprinkle the strawberries with 2 tbsp raw sugar. When the oven is preheated, roast them for about 15 minutes.
3. Scoop all of the roasted strawberries (and the juicy stuff) into a blender, food processor, or whatever you use to puree stuff. Pour in the remaining strawberry sauce ingredients in with and puree until completely smooth. Set aside until pancakes are ready.
4. In a medium sized mixing bowl combine the flour, 2 tbsp raw sugar, 1 tbsp baking powder, and 1 tsp salt. Mix together with a fork.
5. Mix in the coconut oil until the flour looks crumbly. Place the mixture in the fridge for about 10 minutes, then whisk in the coconut milk & vanilla until the batter is smooth.
6. Fold in the toasted coconut until evenly distributed and place batter in the fridge until ready to use.
7. Preheat a nonstick skillet over medium high heat. When the skillet is hot, pour in about 1/3 cup of the batter per pancake. Cook on the first side until you can see bubbles and the edges look done (3-5 minutes). Carefully flip and cook for another 3-5 minutes. The pancakes should be fluffy, firm, and easy to move.
8. Hold the cooked pancakes on a cookie sheet in a 225 degree F (110 degrees C) oven until all batter has been used. I was about to make about 10 pancakes. Serve the pancakes hot with the strawberry sauce.
Thursday, 9 May 2013
Vegan Dulce de Leche
Happy May everyone! You know how I always say that I'll be more organised this month with my posts? Well, once again I haven't. It's 9 days into May and I'm yet to post anything. Oops! Not only that, but I have a couple of leftover Dutch recipes to post from last month! Oops.
But I'm going to turn around and change that now! I'm starting with this - Dulce de Leche. Can you guess which country I'm featuring this month? I don't know if you guessed Argentina, but if you did then you're absolutely right!
I'm so excited that I've finally got a chance to head over to South America! I've had lots of different continents requested, but this is the first from South America and I'm very excited to get my teeth stuck into it! Although, if my initial reading is right, the Argentinians seem to love their sweets so that may not be so good for my teeth.
I'm starting with a fundamental - Dulce de Leche, but vegan. This had to be my first step because I'm going to be using it in several of my other recipes this month. Also because I've just always wanted to try it! This delicious vegan version is very easy to make, using coconut cream instead of condensed milk.
Vegan Dulce de Leche
Ingredients
2 x 400ml cans coconut cream
1 1/2 cups brown sugar
1 tsp treacle (just for richness & colour, you can leave it out if you like)
1/2 tsp salt
To Make
1. Pour the coconut cream (including any solidified bits) into a saucepan and add the brown sugar.
2. Heat over a medium heat until the sugar is dissolved and any lumps in the coconut cream have melted.
3. Add the treacle, and simmer on a medium heat with the lid off for 30 minutes.
4. Remove from the heat and stir in the salt.
5. Pour into clean glass jar(s) and set aside to allow to cool. Cool it at room temperature, rather than in the fridge. Putting it in the fridge will make your coconut cream start to solidify and you'll get lumpy dulce de leche.
Makes 2 medium jars (this really varies depending on the size of your jars).
Store at room temperature. Use however you like!
Here are some dishes I've made using my home made dulce de leche:
Alfajores
Dulce de Leche Tiramisu
Apple & Caramel Sago Pots
Check out my beautiful Alfajores - Argentinian Shortbread Biscuits filled with creamy Dulce de Leche:
This
month I'm featuring lots of recipes from Argentina!
Thursday, 28 March 2013
Sweet Potato in Creamy Coconut Sauce
We're almost at the end of March already, where does the time go? This year will be over before I know it. But, nearing the end of March means nearing the end of Samoan food month, so I'm on a push to get all my recipes up by the end of the month!
As I have warned you in previous posts, Samoa month is all about the coconut! This recipe is not exception. Like some of the other ones I've posted, it looks very simple. Indeed, it is very simple. But!! I can assure you that this coconut sauce is pretty special. I served this up for my Samoan dinner party and people kept going back for ladles of the sauce to mop up with their freshly baked coconut bread rolls.In other news, I've been nominated in the Australian Writers' Centre People's Choice Award in the Best Blogs 2013 competition! Unfortunately it is very much a contest in social media popularity - so I really need your help!
To vote hit this button to the right and then click the "vote here" button. Then scroll through the 5 pages of nominated blogs, Gormandize is on the second page. You 'll need to scroll through all the pages and then fill out your details at the end to make your vote count. Thank you for your support!
And now for the recipe! I made mine with sweet potato, because it was most readily available, but this dish could also be made with taro, cassava, white sweet potato or even just potatoes. Whatever is available near you.
Sweet Potato in Creamy Coconut Sauce
Ingredients
2 large sweet potatoes
1 onion, diced finely
2-3 cloves garlic, crushed
1 x 400ml can coconut cream
1/2 cup vegetable stock
1/4 tsp salt (or to taste)
To Make
1. Peel and cube the sweet potato and place in a large saucepan.
2. Add the onion, garlic, coconut cream, vegetable stock and salt and cover with a lid. Bring to the boil.
3. Once boiling, remove the lid and reduce the heat. Simmer, uncovered, until the sweet potato is cooked through. This should take about 10 minutes. Stir gently every now and then to ensure even cooking.
Serve with green vegetables and coconut rice or fresh coconut bread.
Serves 4
This month I'm featuring lots of delicious food from
Samoa.
Check out my other recipe posts:
Monday, 25 March 2013
Fresh Coconut Bread Rolls
A slight confession - this isn't really a Samoan recipe. I'm not sure if they eat savoury coconut bread in Samoa. So why am I posting it for Samoan food month? Because - I found quite a lot of recipes for sweet coconut bread, but I really felt like making savoury bread instead so I just left out the sugar so that I could serve it with all my delicious savoury Samoan treats. It was perfect for mopping up the creamy coconut sauces of the other savoury dishes ("what creamy coconut sauces!?" you are thinking - don't worry I'll be posting up those recipes very soon!).
If you make this bread and serve it up to guests - they will have a hard time believing that you made it yourself! It's perfectly fluffy and it a sensational taste and texture thanks to the freshly grated coconut. If you buy a fresh coconut, you'll need a coconut grater to get the flesh out of the coconut. You can also use pre grated fresh coconut, which is available at some Asian markets. If you don't have either, you can use dessicated coconut instead. Just add an extra 2 tsp water to the dough so that it's not too dry.
Ingredients
1/2 cup finely grated fresh coconut
2 tbsp sugar
3 1/2 tsp dried yeast
1/2 cup warm water
3 1/2 cups plain flour, plus more for kneading
1/2 tsp salt (optional)
1 cup coconut milk or cream
3 tbsp Nuttelex or other vegan margarine, melted
To Make
1. Combine the coconut, sugar, yeast and warm water into a small bowl and whisk together. Set aside for 15 minutes until frothy.
2. Mix the flour and salt together in a large bowl. Make a well in the middle and add the yeast mixture, coconut milk and melted margarine. Using your hands or a big wooden spoon, mix together well.
3. Turn dough out onto a well floured surface and knead, dusting with additional flour as needed. Knead until soft and elastic, for 5 to 6 minutes. Form into a ball and place it back into the bowl. Cover with a tea towel and leave in a warm spot (what warm spot?? See this post!) to let rise for 1 1/2 hours.
4. After rising, the dough should be at least doubt in size. Turn it our again onto your floured surface. Divide it into 8 equal pieces and roll each piece into a ball.
5. Place pieces on a tray lined with baking paper about 3-4 inches apart. Set back in your warm spot, uncovered this time, for another 45 minutes to rise again. While they're rising you can preheat your oven to 180 degrees.
6. Bake the bread rolls until golden brown on top, it should take 20-25 minutes. Serve warm or allow to cool to room temperature. Don't put in the fridge, once they have cooled down just store them in an airtight container until you're ready to use them.
Makes 8 bread rolls.
This month I'm featuring lots of delicious food from
Samoa.
Check out my other recipe posts:
Tuesday, 19 March 2013
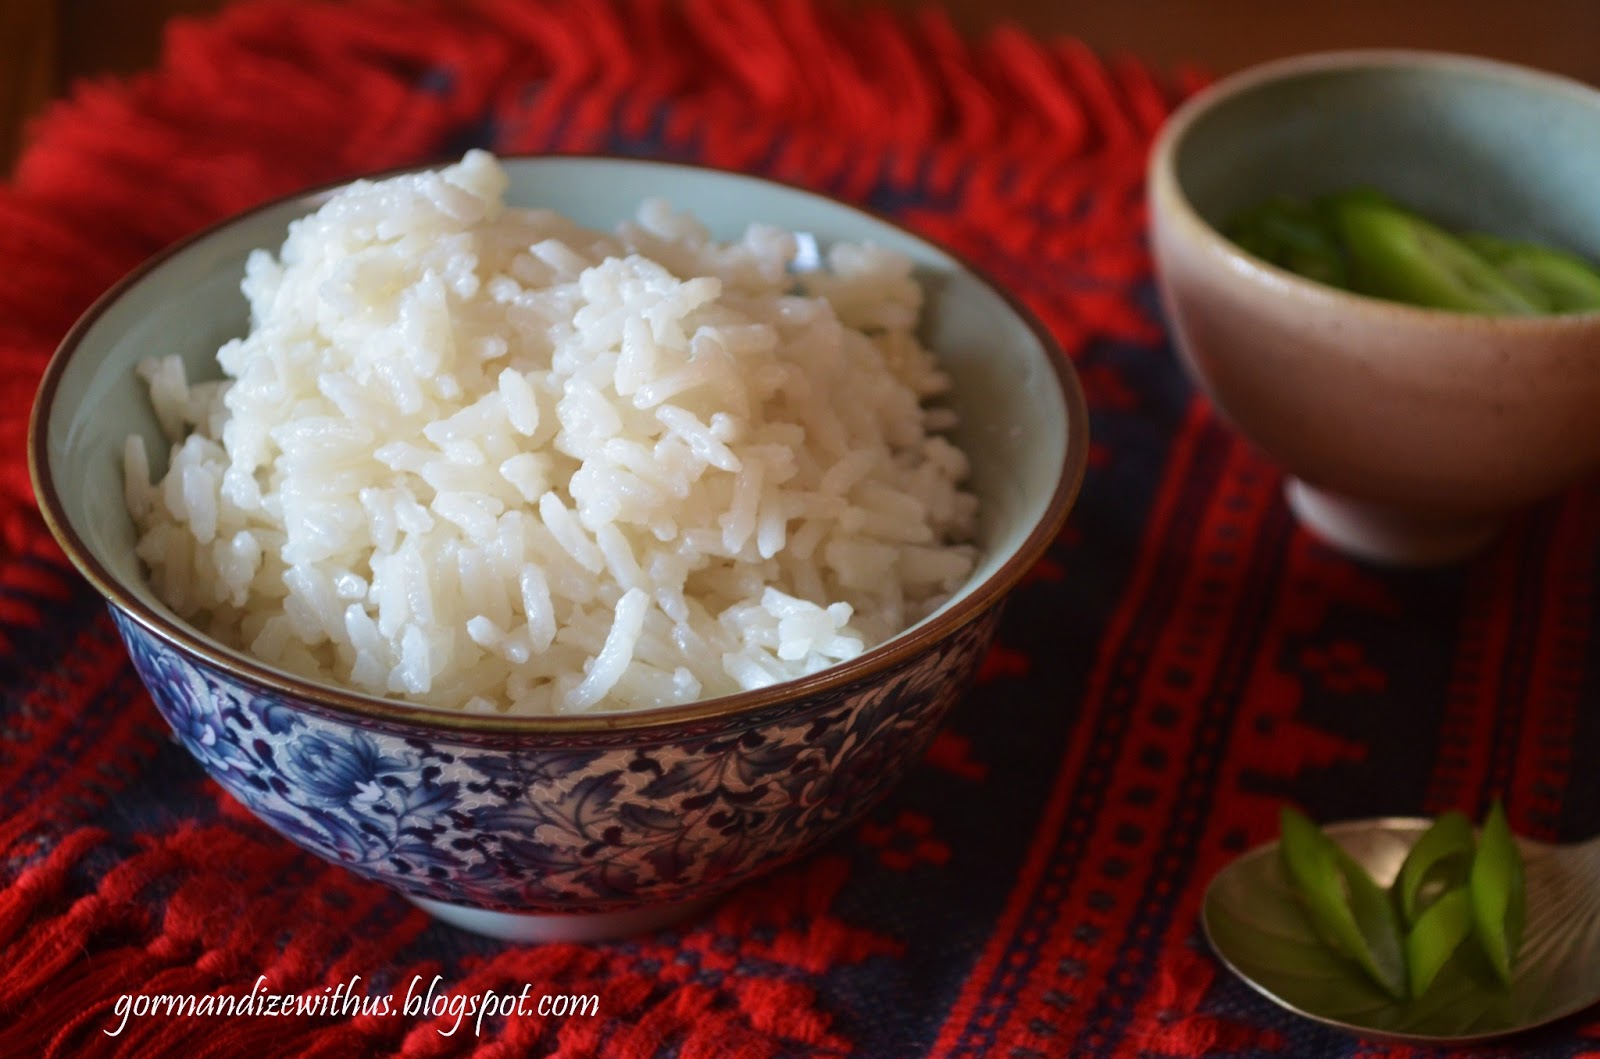
Easy Creamy Coconut Rice (Alaisa Fa'apopo)
Researching Samoan recipes revealed a lot of coconut. Coconut cake, coconut rice, coconut sauce, coconut sago, coconut bread. You get the picture - coconut for breakfast, coconut for lunch, coconut for dinner and coconut for dessert. Not that I'm complaining - luckily I love coconut! If I didn't I may have had to reject featuring this country at all!
Coconut rice came up quite a lot, and although I believe coconut rice is eaten in many countries (although perhaps to slightly different recipes) I couldn't resist whipping up a quick batch of Samoan style coconut rice. It's quick comfort food for sure! Very simple, but quite a special accompaniment in place of plain cooked rice. I think it's perfect partner is curry, but goes very well with pretty much anything you would put rice with. In Samoa they eat it as a snack, rather than a side dish.
This would be more traditionally made with coconut milk but I used coconut cream because that is what I had on hand - it just makes even creamier rice! If I'm using coconut cream instead of coconut milk then I often thin it out a bit with a a little bit of vegetable stock (this also boosts the flavour and negates the need to add salt to the dish).
Coconut Rice
Recipe Adapted from Samoafood.com
Ingredients
2 cups long grain rice
2 cups water
1 cup coconut cream (plus 2 tbsp water or vegetable stock to thin it) or coconut milk
To Make
1. Place rice and water in a saucepan and bring to the boil. Once it boils, turn the heat right down and cover. Leave it to cook for 16-20 minutes, or until all the water has been absorbed and the rice is cooked through.
2. Remove pan from the heat and stir the coconut cream into the rice. Cover and let sit (off the heat!) for 10 minutes.
3. Serve and enjoy!
This month I'm featuring lots of delicious food from
Samoa.
Check out my other recipe posts:
Tuesday, 5 February 2013
Vegan Condensed Milk
There are some things that you just give up on when you start cooking vegan. Condensed milk is one of them. There are no easily available ready made vegan condensed milks that I'm aware of, although I'm sure you can find such a thing on the internet. Honestly though, the lack of condensed milk in my life never bothered me, as generally I find it too sickly sweet and I'm always dubious of highly processed foods.
But when I started researching recipes for Costa Rican desserts, as part of this month's world food challenge, I found condensed milk cropping up a lot! So many of the desserts that I was finding called for condensed milk that I decided I'd better get my act together and make some. So, this recipe is not part of Costa Rica month, but if it wasn't for this challenge then I never would have made it!
Making sweetened condensed milk is very easy. In this recipe I use coconut cream as the base and sweeten it with liquid palm sugar. It's delicious, but if you don't like coconut then I should warn you that it does taste coconut-y. In fact, if you're a vegan who doesn't like coconut then life must be tough! Because so many beautiful dairy substitutes are made from coconut - like coconut whipped cream and coconut butter, which is used to make fabulous easy vegan fudge. Not to mention the fact that coconut oil is great to use in things like vegan cheesecakes to make it set to the right consistency.
If you really can't stand coconut though, I'm sure you could experiment with using soy or another non dairy milk. The advantage of using coconut cream is that it's already slightly thick, so you have a bit of a head start. If you used a different kind of milk, you would probably have to cook it down for longer to make it as thick. I'm sure you could also substitute the sweetener if you wanted to, and use agave nectar or maple syrup. Again, this may affect the cooking time and I haven't done it so I can't advise you.
Ingredients
3 cans coconut cream
3/4 cup liquid palm sugar (180ml)
To Make
1. Shake the cans of coconut cream and then pour into a saucepan. I advise using one that is a bit bigger than you think you'll need, as this will make it harder for it to boil over.
2. Add the palm sugar and place saucepan over a medium heat to bring to the boil.
3. Once it is boiling, reduce the heat so that it is boiling/simmering gently. Don't cover with a lid, as you want the milk to evaporate away.
4. Simmer for about an hour, checking and stirring regularly to prevent it boiling over. Different brands of coconut cream have different amounts of water in them, so you may have to boil for longer to get it thick. The liquid should have reduced by about 1/3 by the time it's ready.
5. Allow to cool slightly and then pour into jars and store the the refrigerator until ready to use.
Makes 3-4 cups condensed milk.
Should keep in the fridge for up to 2 weeks.
Now what to do with it? Keep your eyes on the blog this month for several Costa Rican desserts using this home made condensed milk!
Subscribe to:
Posts (Atom)